How to set up and record with Valu-Rec on Windows and Mac.
Install · Quick start · Sources · The Stage and layouts · Audio · Date and time stamp · File names and folders · Recording · Crash safety and PARANOID · Presets and new jobs · Hotkeys · Settings · Troubleshooting

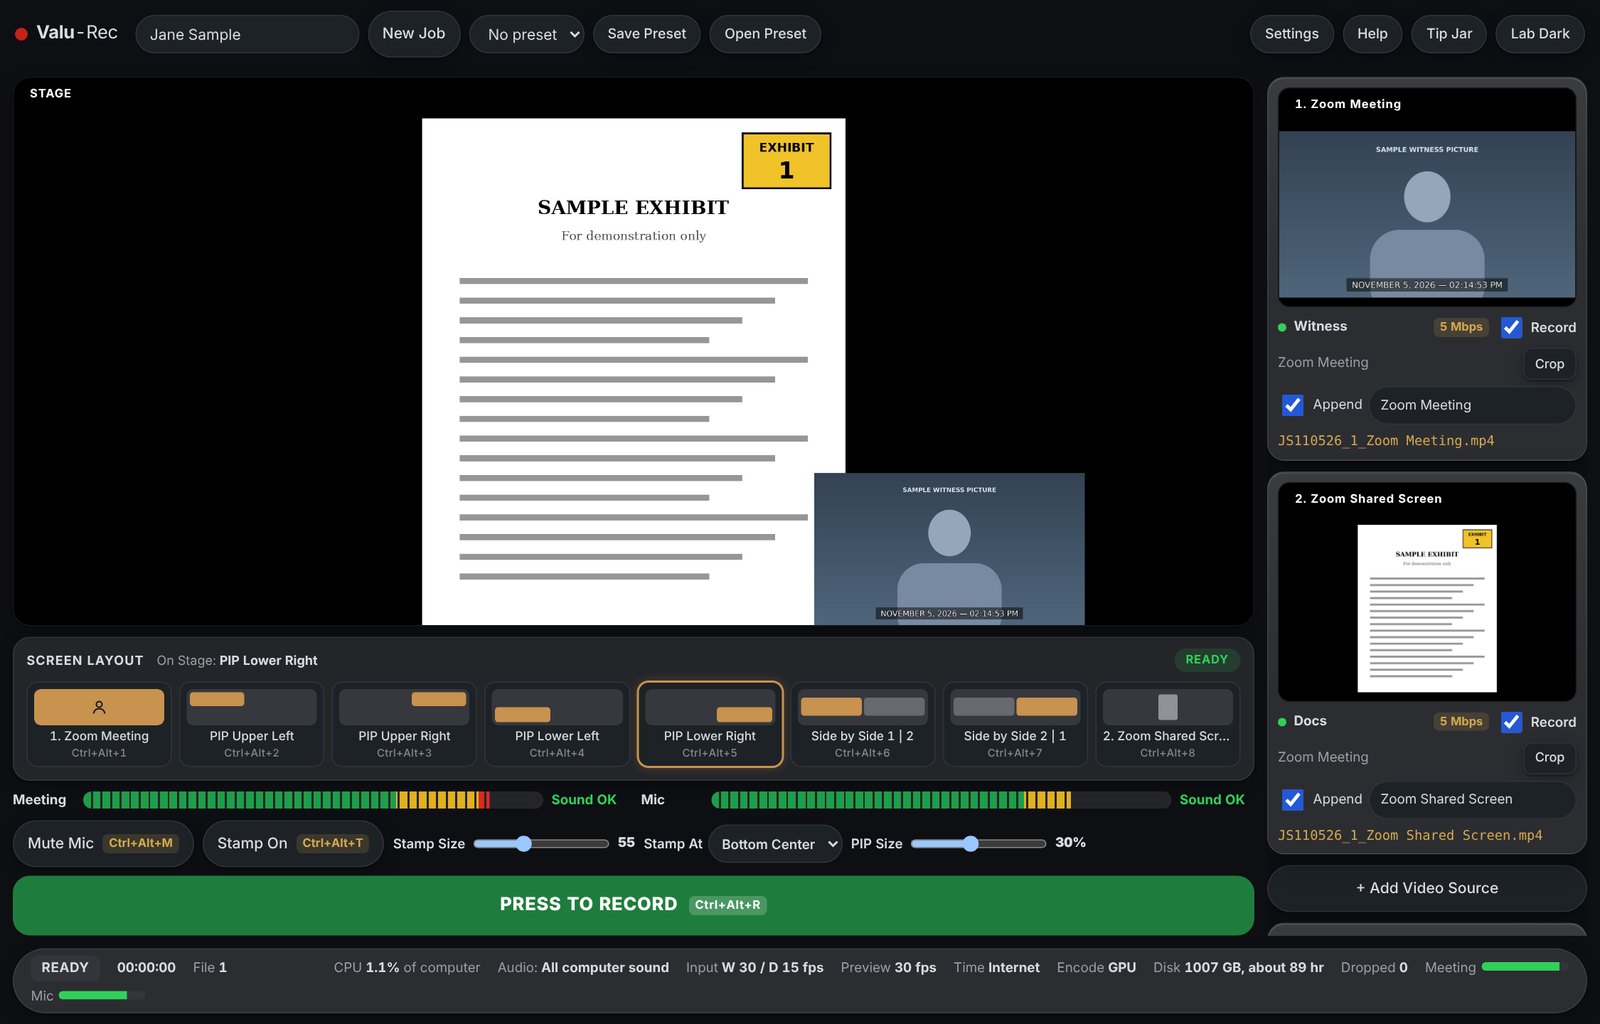
Ready to record, shown with sample pictures.

Click a preview to choose what it records:
Press + Add Video Source for Source 3 and Source 4, up to 4 sources in all. Untick Record on a source if you only need it on the Stage, because each recorded file adds work for the computer.
Crop lets you trim a source. Use it to remove window title bars or black edges.
Zoom tip: Zoom's video and shared screen windows both use the title Zoom Meeting. Check both previews at the start of each meeting. Dual-monitor mode in Zoom gives each its own window, and a second display, or a dummy HDMI plug, helps.
The Stage shows 2 sources at a time. Source 1 is always the corner window. Source 2 fills the background unless you tick Use as Stage background on Source 3 or 4.

Click a layout, or use its hotkey, while recording.
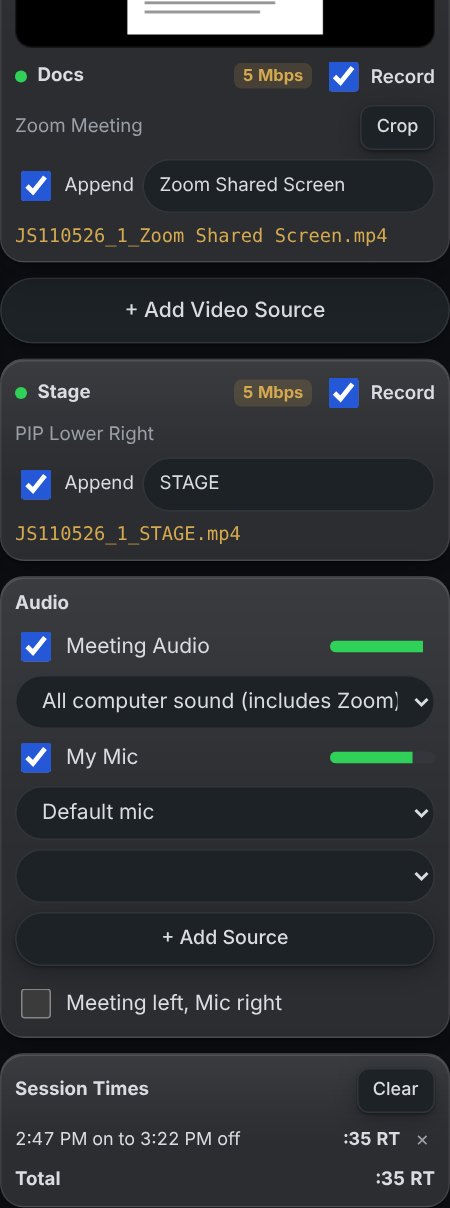
Audio is off until you choose it. If you start with no audio selected, Valu-Rec warns you that the recording will have no sound.
Mac with Loopback: if Loopback sends Zoom straight to your headphones, choose LOOPBACK as Meeting Audio rather than All computer sound.

The Audio card and Session Times in the right column.
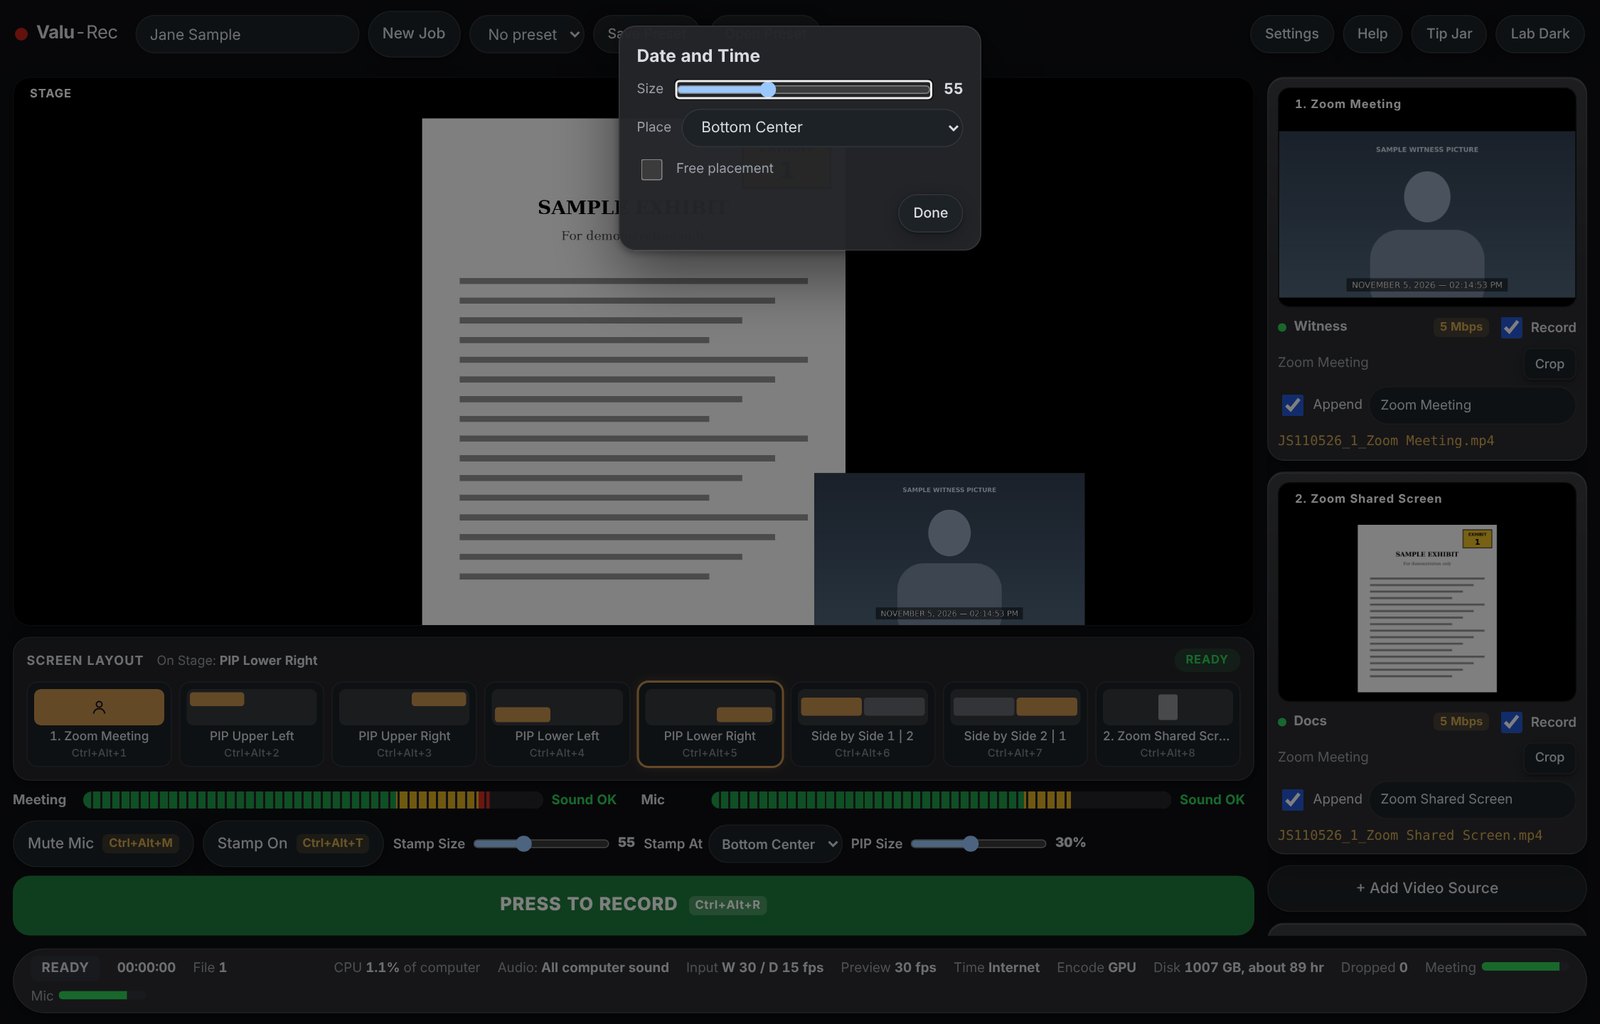
The stamp is drawn into the sources that have it turned on. By default, that's Witness. Change that in Settings, under Sources. The Stage shows the stamp as part of the picture, so it shrinks with the corner window.

The Date and Time box. The picture stays live behind it.
Settings has more options: font, color, bar darkness, outline, date style, 24-hour time, seconds, two lines, and time zone. Type a zone such as MT, BST, India, Tokyo, or +5:30. Use internet time protects the stamp from a wrong computer clock, but check your Windows or Mac time zone too.
Files are named from the initials of the master name, the date, a count, and an ending, such as JD110526_1_Zoom Meeting.mp4. Each job gets its own folder, with a subfolder for each source.
Valu-Rec saves files in small pieces as it records, so a crash or power loss should keep everything up to about the last moments. Nothing can guarantee every failure, so keep a backup recording on jobs that matter.
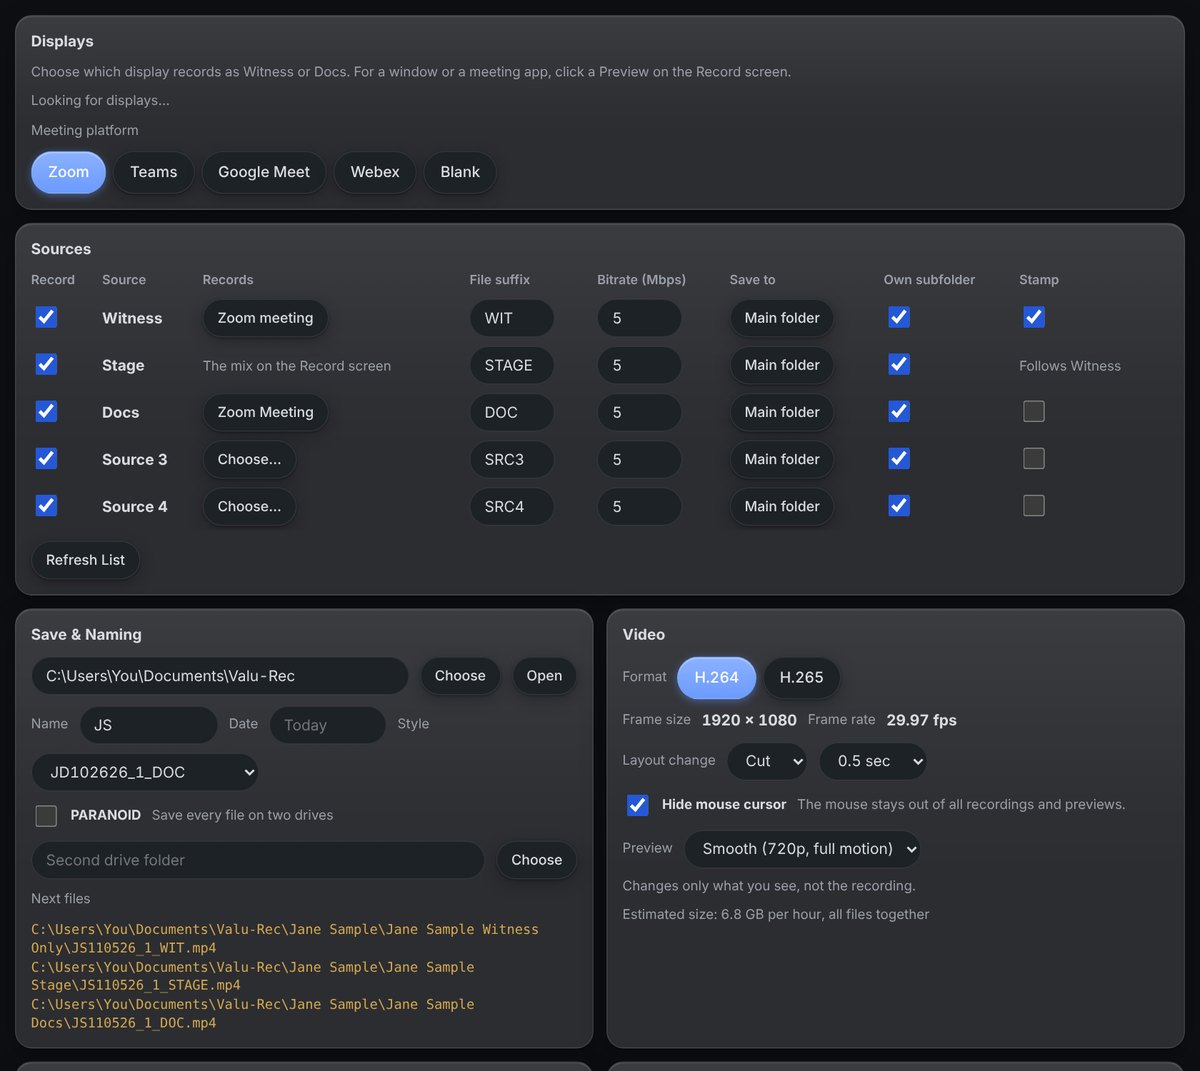
PARANOID, in Settings under Save & Naming, saves every file to two folders. Use a second physical drive. If one drive fails, the other keeps going, and Valu-Rec alarms you.
The Stress Test in Settings tests your drives and how many files your computer can record at once.
These work even when Valu-Rec isn't the front app, and can be changed in Settings. Point a Stream Deck or other controller at them.
| Ctrl+Alt+1 | Source 1 full screen |
| Ctrl+Alt+2 to 5 | PIP Upper Left, Upper Right, Lower Left, Lower Right |
| Ctrl+Alt+6 and 7 | Side by Side, each way |
| Ctrl+Alt+8 | Background source full screen |
| Ctrl+Alt+9 | Swap sides |
| Ctrl+Alt+R | Start or stop recording |
| Ctrl+Alt+M | Mute or unmute your mic |
| Ctrl+Alt+T | Stamp on or off |
| Ctrl+Alt+O | Clear Offline |

Sources, naming, and video settings.
Most settings wait until you press Apply, in the bar at the top of the window. Stamp settings change right away. Preview: Light uses less CPU on older computers and doesn't change the recording. Check My Setup tests your sources, sound, disk, and clock.
Crash details are saved in crash-log.txt in your Documents, Valu-Rec folder. Questions? Call Daniel Holmstock at 540-718-3545.